Maranda of Jolts & Jollies was our January 2012 Daring Cooks hostess with the mostess! Maranda challenged us to make traditional Mexican Tamales as our first challenge of the year!

This is what the end result looked like. Not exactly what I expected from all of the work that went in before. You decide:

First step is to get the dried corn husks into a workable state - they are soaked in a pot of water and these were in the bath for at least 12 hours or actually, a whole lot more. More, more - like about 18 hours. They were nice and pliable by then.
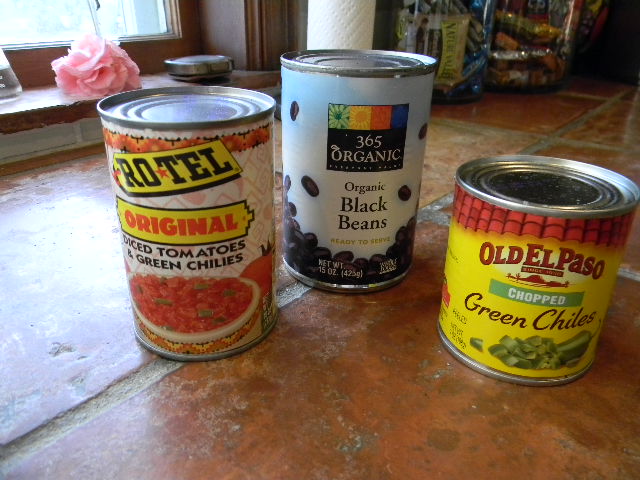
Our choice was to make the Black Bean and Green Chile Tamales. And in retrospect, I think we forgot some of the ingredients! But maybe not, and that tells me something....

After mixing all the ingredients, it was time to make the masa dough. This was such fun. And I will have to share what the cute checkout clerk at the grocery said when I was buying the ingredients. She looked at my strange combination of items and asked what I was going to do with all of this strange stuff. I told her I was making tamales.
"Oh Tamales! I love tamales! My best friend's Grandma used to make them for us. Have YOU ever made them before?"
"Well, no I haven't made tamales before. It will be a fun experience I am sure."
"Oh yes. Good luck. My friend's Grandma used to say all kinds of things to her Tamales while she was making them, but we could never understand her."
I think maybe "Grandma" and The Distracted Cook said some of the very same things!

After mixing the masa dough ingredients until it resembled cookie dough, it was time to get to work. Following the directions was really easy and now I can fold those husks like nobody's business.
First you lay out a husk and put about a 1/4 cup of the dough on it in the middle and flatten it out with your hand. Be careful to keep the dough on the upper part (the BIG) end of the husk. Put about a tablespoon of the filling mixture right down the middle of the dough. Now the fun part - fold the two sides of the husk towards each other and make sure you press the edges of the dough together. Fold up the pointy end of the husk. Now take a thin strip that you tear from one of the husks and tie the end up by tying the strip around the entire husk. Voila! Easy does it. And yes, it is fun. You might want to dance a little bit, or actually say something nice to your tamales at this point.

Stand the tamales up in the top of a steamer and put the top on and steam for about 40 or so minutes. Take the top off and let them cool a bit. Then you are ready to bring them to the table and enjoy! And enjoy we did!
If you want to reheat any that are left over, I found a really easy way. Just put them back into the steamer pot. I had them wrapped in foil in the refrigerator, so I just opened up the package so the steam could get to them. Perfect. Again. And fun.
Want to have fun with us? Just go to the website and join the rest of us. And while you are visiting The Daring Kitchen you can see more pictures of what everyone's tamales looked like! See you next time.


